How to fix stick drift at home
Stick drift — the phantom movement a controller registers with nobody touching it — is almost always a hardware problem, but it's rarely the controller-ending problem people treat it as. Most of the time it's dust or a worn contact point inside the potentiometer, and both are fixable at home without any soldering. We've talked through this process with enough readers now that it's worth writing down properly, including the point where it stops being worth the effort.
What you need
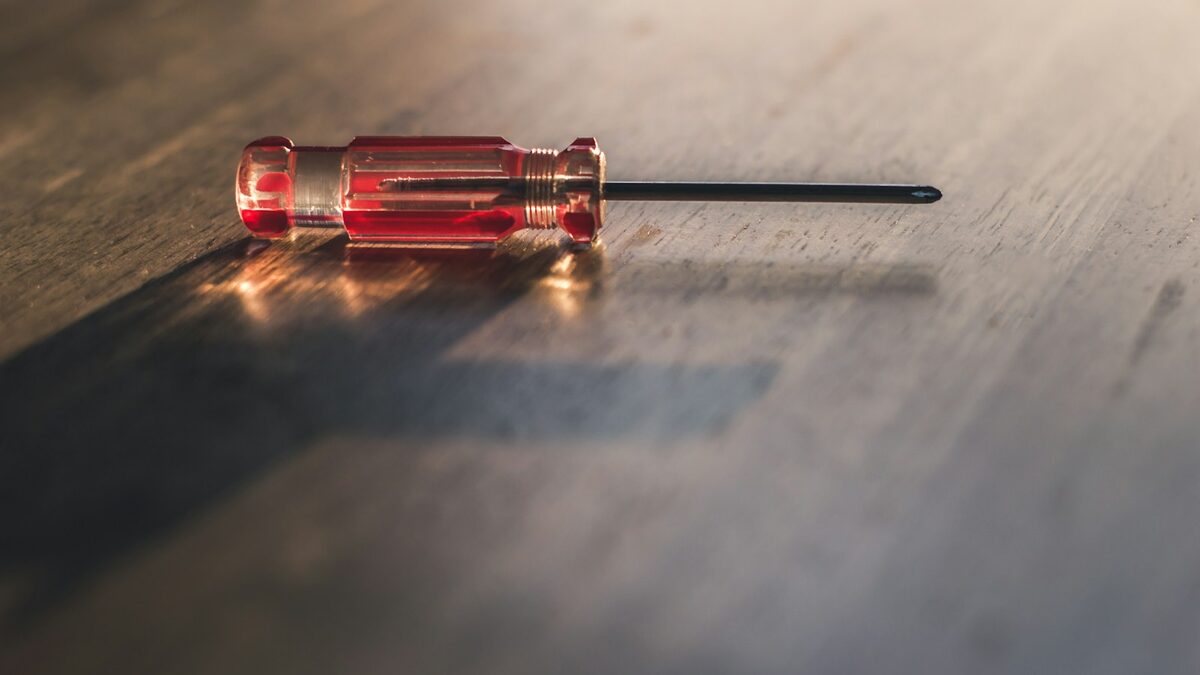
- A small precision screwdriver set (most modern pads use a security-bit screw, not standard Phillips)
- Electronics-safe contact cleaner, ideally one labeled safe for potentiometers
- A can of compressed air or a small soft brush
- Replacement analog stick modules, only if cleaning doesn't resolve it
- A clean, well-lit, static-free surface to work on
None of this is specialized equipment; a basic precision screwdriver set and a bottle of contact cleaner together typically run under thirty dollars, and both are reusable for other small electronics repairs around the house.
Start with the easy fix
Before opening anything, run your controller's built-in recalibration tool. On PC this usually lives in the manufacturer's companion app; on console it's buried in the accessory settings menu. Recalibration alone resolves a surprising number of mild drift cases, because it resets the dead zone the controller uses to ignore small, unintended stick movement. If the drift is new and mild, this fifteen-second step solves it more often than people expect, and it costs nothing.
Open the case and clean the contact points
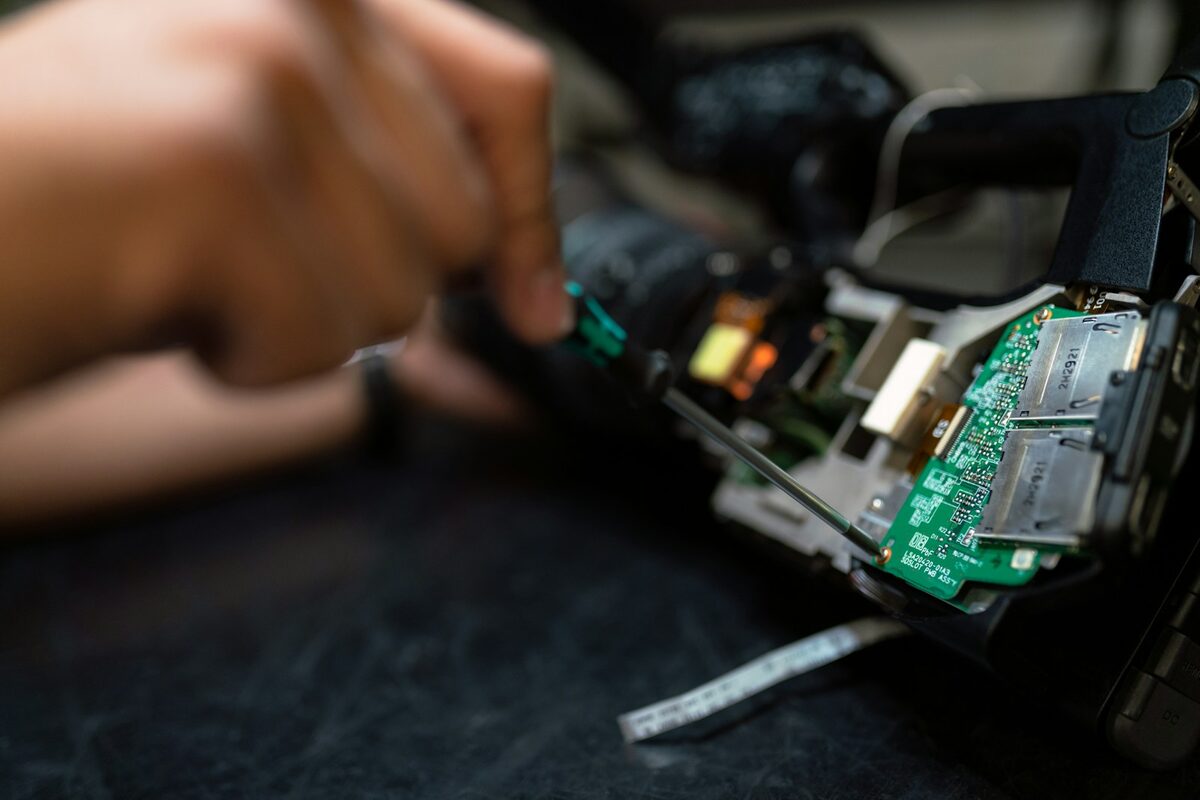
If recalibration doesn't hold, the next step is opening the controller and cleaning around the stick module directly. Remove the back case screws, lift the shell carefully — there's usually a ribbon cable or battery connector you don't want to tear — and locate the analog stick module on the main board. Spray a small, controlled amount of contact cleaner into the gap around the base of the stick where it meets the potentiometer, then rotate the stick through its full range of motion twenty or thirty times to work the cleaner into the contact surface. Let it air dry for a few minutes before reassembling.
This step fixes the majority of drift cases we've worked through with readers, because the usual culprit is dust and oxidation building up on the contact ring inside the potentiometer, not physical damage to the part itself. It's also completely reversible and low-risk if done carefully, which is why we recommend trying it before spending money on parts.
When you actually need a replacement module
Cleaning won't help if the potentiometer itself is physically worn down, which tends to happen after a few hundred hours of heavy use on a single stick, or after exposure to spilled liquid. The tell is consistency: if the drift comes back within days of a thorough cleaning, or if it's present even when the stick is removed and reseated, the module itself has likely worn past the point cleaning can fix. Replacement modules for most major controllers are inexpensive and widely available, and swapping one is a straightforward job for anyone comfortable with the disassembly step above, though it does involve a small amount of desoldering on controllers without a tool-free hot-swap design.
- Try first: built-in recalibration — free, takes fifteen seconds.
- Try second: contact cleaner on the potentiometer — under $10, takes twenty minutes.
- Last resort: replacement stick module — typically $8–$15 per module, requires basic soldering on most non-hot-swap pads.
Preventing it from coming back
Most stick drift is accelerated by habits rather than inevitable wear: resting a thumb on the stick during cutscenes or menus, playing in dusty environments, or gripping the stick hard enough to push dust and skin oils directly into the gap around its base. None of these are dramatic changes to make, but together they noticeably extend the life of a controller's analog sticks, and they cost nothing compared to even the cheapest replacement part.
If none of this works
Occasionally the issue isn't the stick at all but a loose ribbon cable connection or a failing main board component, in which case no amount of cleaning or part-swapping will help. At that point, and only at that point, we'd suggest looking at a replacement controller rather than sinking more time into repairs; our current hardware picks cover a range of budgets if you do end up there.
A note on warranty and manufacturer repair programs
Before opening any controller still under warranty, it's worth checking whether the manufacturer offers a drift-specific repair or replacement program, since several major brands have quietly expanded these after years of criticism over drift rates on their flagship pads. Opening the case yourself, even carefully, will typically void a standard warranty, so if your controller is less than a year or two old and the drift appeared without any obvious cause, it's often faster and cheaper to go through an official repair channel first and save the do-it-yourself approach for controllers that are already out of warranty.
If you do go the official route, document the issue before sending anything in: a short video showing the stick drifting with your thumb fully off it is usually enough to get a repair or replacement approved without an argument, and it protects you if a support representative initially suggests the problem is a settings issue rather than a hardware fault.
Tools worth keeping on hand
Once you've opened a controller once, it gets considerably easier the second time, and most people who do this repair end up keeping the same small kit around indefinitely rather than buying tools fresh each time. A basic precision screwdriver set handles the vast majority of consumer controllers on the market, security bits included, and a single bottle of contact cleaner lasts through dozens of repairs if stored properly. Neither tool has much use outside small electronics repair, but between controllers, keyboards and the occasional remote control, most households get their money's worth out of both within a year.
- Keep the removed screws in a small dish or magnetic tray; controller screws are easy to lose and awkward to replace individually.
- Photograph the inside of the case before disconnecting anything, in case a ribbon cable's orientation isn't obvious on reassembly.
- Test the stick's full range of motion before closing the case back up, since it's much easier to reopen now than after it's fully reassembled.